Quickstart: Using the Moderne Platform
To help you understand the power of Moderne, let's walk through applying one of our core recipes (common static analysis) to some open-source projects that we have imported into Moderne. This recipe will fix a significant amount of static analysis issues while also ensuring that your code continues to function as expected.
By the end of this quickstart guide, you'll understand how to run recipes against any repository in Moderne.
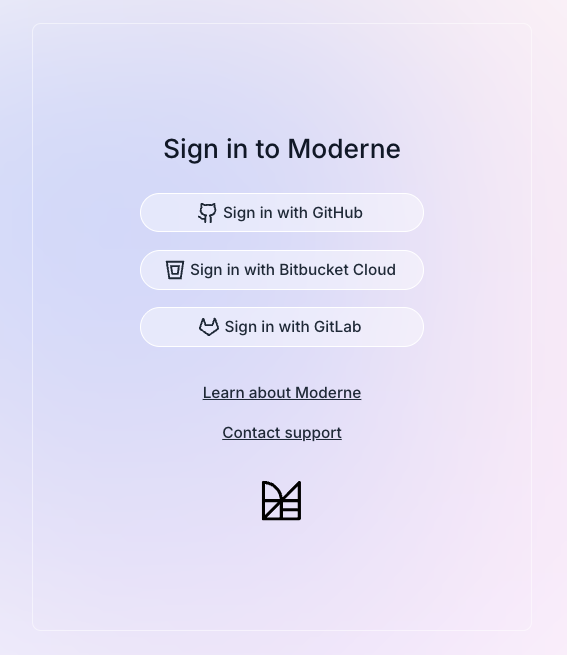
Step 1: Sign in to the Moderne Platform
Go to https://app.moderne.io and sign in. We recommend signing in with GitHub as most of the open-source repositories in the Moderne Platform are in GitHub.
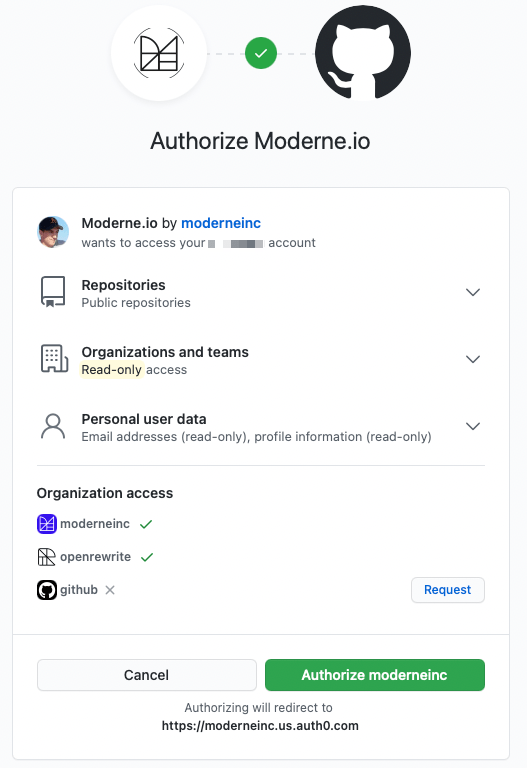
Step 2: Configure your source code manager permissions
The first time you sign in to Moderne, you will be presented with an authorization prompt for a few permissions to help enhance your experience. This authorization screen will depend on which source code manager you signed in with.
For a better understanding of the permissions requested, please review our GitHub permissions reference documentation.
Step 3: (Optional) Select what repositories to run the recipe against
By default, recipes will run against the Default organization in Moderne. This organization is composed of a diverse set of open-source repositories that can help demonstrate the power of many recipes.
If you'd prefer to run against a different group of repositories, you can do so by clicking on the Organization selector at the top of your screen and then selecting the organization you'd like:
It's also possible to create your own organization that contains just the repositories you care about.
Step 4: Select the recipe to run
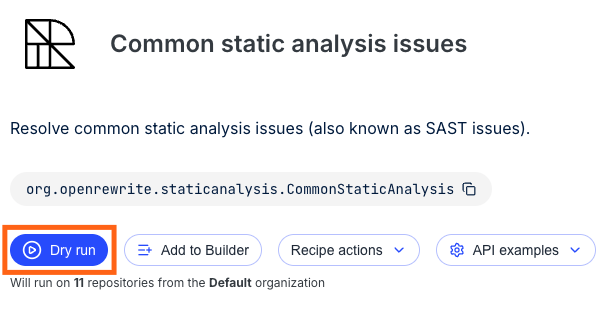
There are over 7000 recipes available in the Moderne Platform. While you are welcome to try out any of them, let's start by running the common static analysis recipe. To do so, click on the search bar in the marketplace and type common static. Then click on the first recipe that appears:
Step 5: Run the recipe
Once you've found the recipe, click Dry run to begin running the recipe. You might be asked for additional GitHub permissions after you click this button.
Running a recipe does not automatically update the code in the selected repositories. You will be able to view the results and decide what you want to commit and how you want to commit it (e.g., via a PR, in a branch, etc.). We'll walk through these options later on in this guide.
Step 6: View the results
After pressing Dry run, you will be taken to a page that shows a summary of the recipe status, a list of all of the repositories where results were found, and a code block section that shows some of the changes that were made by the recipe:
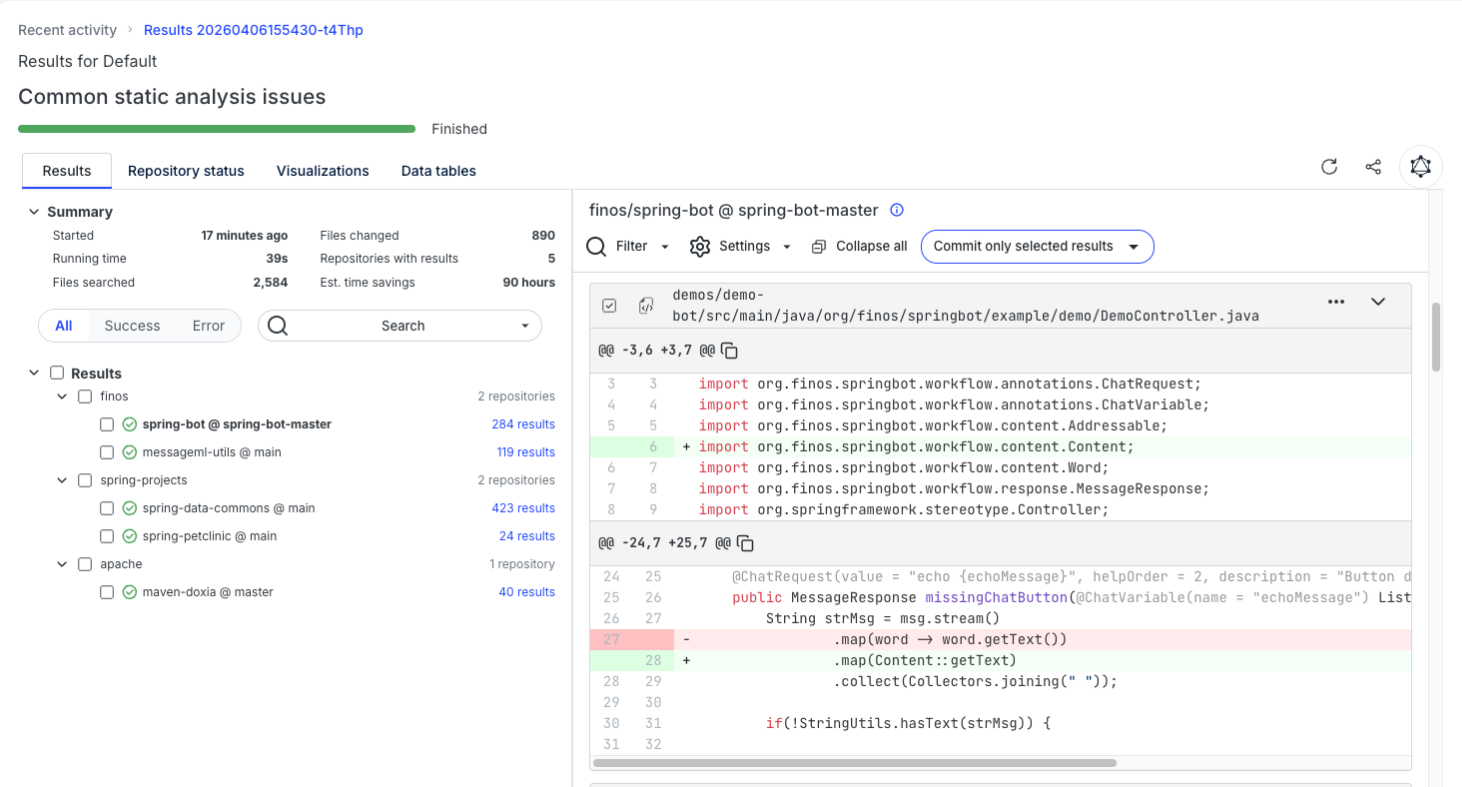
If you want to learn more about why a change was made, you can click on the three dots (...) at the top-right of any file and select Why did this change?. For instance, in the below example, we can see that the final keyword was added to the class because it only has private constructors:
Step 7: Commit your changes
Once you've confirmed you want to make the changes, the next course of action is to commit everything.
Depending on what organization you ran the recipe against, you may not have access to commit code or create a PR. Please don't try and open PRs against random projects that aren't your own.
In the results view, select the repositories you want to commit, and then click on the Commit selected results button:
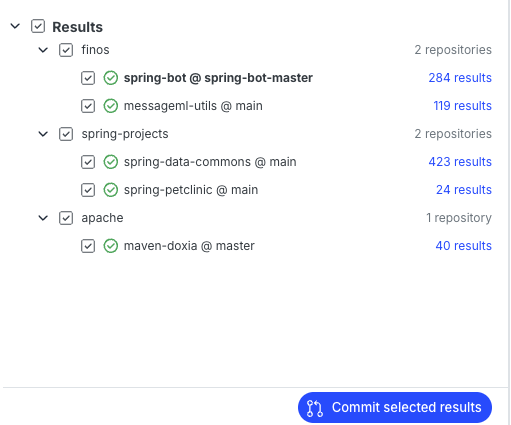
This will open a modal that allows you to select different actions such as committing directly, opening a pull request, etc:
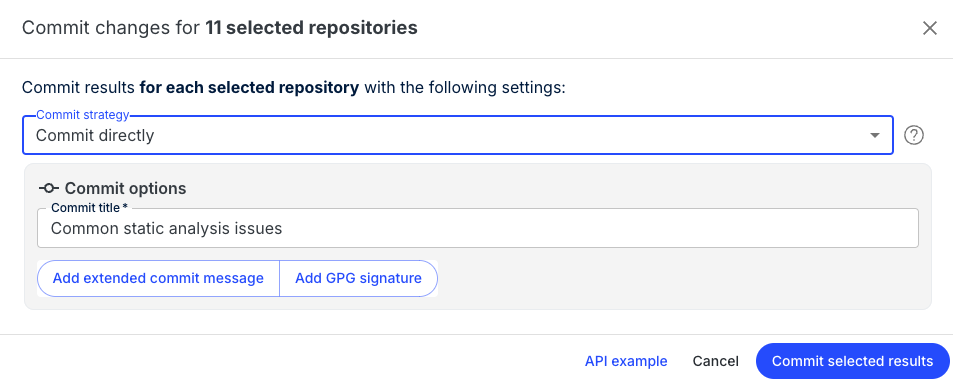
From this modal, you can customize either the Branch Name or the Commit Message to match the contributing guidelines of a particular repository.
You will need to have specific permissions depending on the commit strategy you decide to go with.
Next steps
You now know how to run recipes and commit results 🎉.
- Check out our proof of value doc for a list of popular recipes to run.
- Work through our Moderne CLI workshop to get a better understanding of how you can use the power of Moderne and OpenRewrite locally on your computer.
- If you want to learn how to create your own recipes, read through our fundamentals of recipe development workshop.